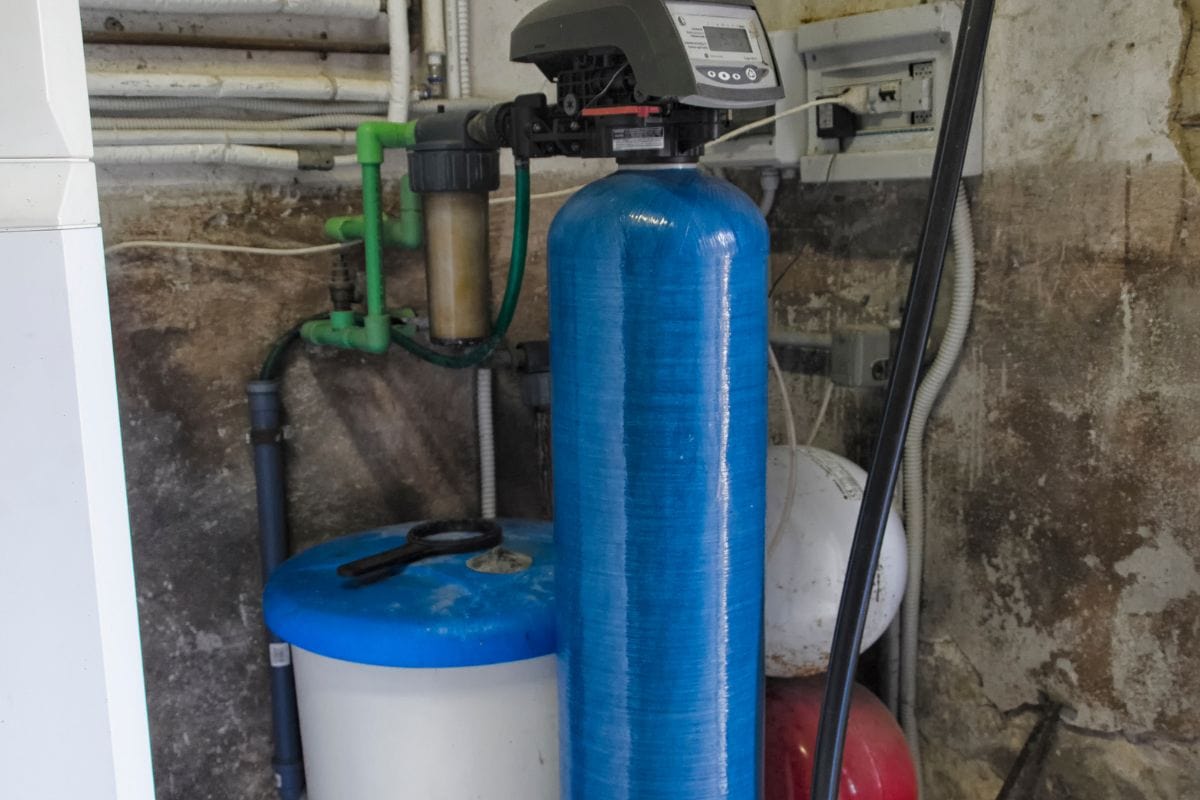
Connecting the water softener to the drain system is a key element of proper installation of the device. This process requires precision and understanding of both the softener and the home's plumbing system. Below we show you step by step how to properly perform this task.
Step 1: Understanding Water Softener Specifications
Before beginning installation, it is important to carefully read the manufacturer's instructions for your specific softener model. Different models may require different ways of connecting to the drain.
Step 2: Choosing the Right Place
The water softener should be placed in a location that allows easy access to the sewage system. It should also be ensured that this place is properly protected against possible leaks and has sufficient space for operation and maintenance of the device.
Step 3: Provide Adequate Drainage
The water softener requires the removal of the brine solution during the regeneration process. Therefore, it is important to provide adequate drainage that can safely process this solution. Avoid connecting the drain directly to the sewer system without a suitable air gap, which prevents the risk of sewer contaminants being sucked back into the softener.
Step 4: Installing the Drain Pipe
Install the drain pipe from the softener to the sewer, maintaining an appropriate slope and avoiding too many bends and bends that could impede flow. It is important to use pipes of the appropriate diameter, in accordance with the manufacturer's recommendations.
Step 5: Leak Prevention
During installation, it is worth ensuring that all connections are tight and protected against possible leaks. Teflon tape or other sealants can be used to ensure tight connections.
Step 6: Checking and Testing
Once installation is complete, the entire system should be carefully inspected for leaks and proper operation. It is worth performing a regeneration test to ensure that the brine solution is draining properly.
Step 7: Using Special Siphons
There are special siphons available on the market that are designed to facilitate the process of connecting the water softener to the drainage system. These siphons are particularly useful because:
- They prevent aspiration: Special siphons often contain a built-in air gap that prevents sewage contaminants from being sucked back into the softener.
- They make installation easier: Thanks to their design, these siphons facilitate the connection of the softener to the sewage system, minimizing the risk of improper installation.
- They ensure safety: Using dedicated siphons increases the safety of the installation, ensuring proper drainage and avoiding leaks.
Step 8: Detailed Siphon Installation Instructions
When installing a special siphon, it is important to carefully follow the instructions included with the product. Make sure all connections are tight and properly secured.
Summary
Connecting the water softener to the drainage system can be significantly facilitated by using special siphons. This is an effective way to ensure safe and effective drainage of the brine solution. However, regardless of the method chosen, it is always crucial to follow the instructions of the softener and siphon manufacturer, as well as the safety rules during installation. If you have any doubts, it is best to seek help from an experienced installer.


